Sometimes we find ourselves in a situation where the standard file upload process just doesn't meet the required grade.
This is when we have to dust off the old developer console and write some code :-)
Step 1: Login to your Salesforce and open developer console (I always recommend your Sandbox first).
tep 2: Navigate to File | New | Apex Class and Create an Apex controller called UploadManager. Replace following code in apex controller.
UploadManager.apxc
 public class UploadManager{

@AuraEnabled
   public static List getFiles(string recordId){
     List DocumentList = new List();
     Set documentIds = new Set();  //store file ids
     List cdl=[select id,LinkedEntityId,ContentDocumentId from ContentDocumentLink where LinkedEntityId=:recordId];
     for(ContentDocumentLink cdLink:cdl){
       documentIds.add(cdLink.ContentDocumentId);  // Document ids
     }
     DocumentList = [select Id,Title,FileType,ContentSize,Description from ContentDocument where id IN: documentIds];
     return DocumentList;
   }
   @AuraEnabled
   public static List UpdateFiles(string documentId,string title,string recordId){
     system.debug('title: ' +title);
     ContentDocument cd = [select id,title from ContentDocument where Id=:documentId]; // Getting files from Parent record
     cd.Title = title;  // Changing file Title with user entered title
     try{
       update cd;  // Update ContentDocument (File)
     }
     catch(DMLException e){
       system.debug('Exception has occurred! ' +e.getMessage());
     }
      List DocumentList = new List();
     Set documentIds = new Set();
     List cdl=[select id,LinkedEntityId,ContentDocumentId from ContentDocumentLink where LinkedEntityId=:recordId];
     for(ContentDocumentLink cdLink:cdl){
       documentIds.add(cdLink.ContentDocumentId);
     }
     DocumentList = [select Id,Title,FileType,ContentSize,Description from ContentDocument where id IN: documentIds];
     return DocumentList;  // Return list of files on parent record
   }
 }
Step 3: Navigate to File | New | Lightning Component and create a Lightning Component called FileUpload. Replace the following markup in the Lightning Component.
LightningFileUpload.cmp
LightningFileUploadController.js
({
   doInit:function(component,event,helper){
     var action = component.get("c.getFiles");
     action.setParams({
       "recordId":component.get("v.recordId")
     });
     action.setCallback(this,function(response){
       var state = response.getState();
       if(state=='SUCCESS'){
         var result = response.getReturnValue();
         console.log('result: ' +result);
         component.set("v.files",result);
       }
     });
     $A.enqueueAction(action);
   } ,
   //Open File onclick event
   OpenFile :function(component,event,helper){
     var rec_id = event.currentTarget.id;
     $A.get('e.lightning:openFiles').fire({ //Lightning Openfiles event
       recordIds: [rec_id] //file id
     });
   },
   UploadFinished : function(component, event, helper) {
     var uploadedFiles = event.getParam("files");
     var documentId = uploadedFiles[0].documentId;
     var fileName = uploadedFiles[0].name;
     helper.UpdateDocument(component,event,documentId);
     var toastEvent = $A.get("e.force:showToast");
     toastEvent.setParams({
       "title": "Success!",
       "message": "File "+fileName+" Uploaded successfully."
     });
     toastEvent.fire();
     /* Open File after upload
     $A.get('e.lightning:openFiles').fire({
       recordIds: [documentId]
     });*/
   },
 })
LightningFileUploadHelper.js
({
       UpdateDocument : function(component,event,Id) {
     var action = component.get("c.UpdateFiles");
     var fName = component.find("fileName").get("v.value");
     //alert('File Name'+fName);
     action.setParams({"documentId":Id,
              "title": fName,
              "recordId": component.get("v.recordId")
              });
     action.setCallback(this,function(response){
       var state = response.getState();
       if(state=='SUCCESS'){
         var result = response.getReturnValue();
         console.log('Result Returned: ' +result);
         component.find("fileName").set("v.value", " ");
         component.set("v.files",result);
       }
     });
     $A.enqueueAction(action);
   },
 })
Step 4: To Create a quick action Navigate to Setup | Object Manager | Account |Buttons, Links and Actions | New Action. Fill all required fields and hit the Save button.
Step 5: To add quick action in account page layout Navigate to Setup | Object Manager | Account | Page Layouts. Edit Account Layout and move to Mobile & Lightning Actions.
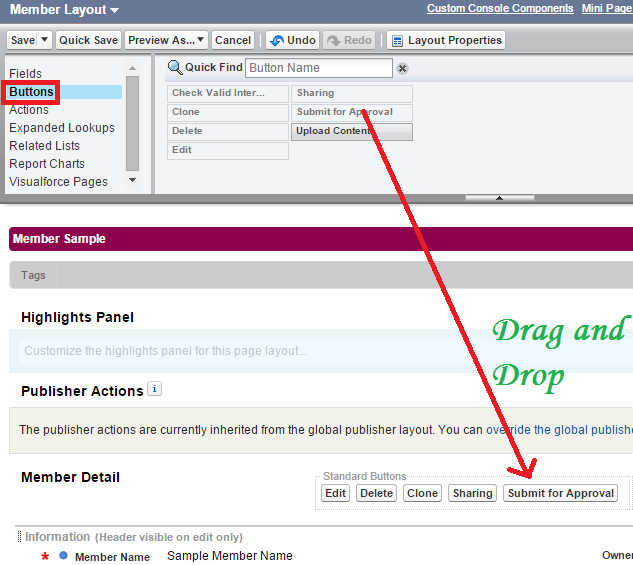
Step 6: Drag File Upload quick action in Salesforce Mobile & Lightning Experience Actions section and save the Account page layout.
Step 7: Open an account record and click on the File upload quick action button.
Output:
And just like that you are all done :-)
Happy Trails!
